Contents
Good day, welcome to this blog. Today I will be showing you how to develop a single-page application using Angular 17. Before we proceed let’s have a little bit of discussion.
Angular is a popular open-source front-end web application framework primarily maintained by Google and a community of developers. It’s used for building dynamic, single-page web applications (SPAs) and provides tools and architecture to streamline the development process. Angular enables developers to create rich, interactive, and responsive user interfaces.
A Single Page Application (SPA) is a web application or website that utilizes only a single page and dynamically changes its content. The page does not reload unlike Multiple Page Application (MPA) which reloads pages to display new information.
Prerequisite:
- ^18.13.0 || ^20.9.0
- @angular/cli
Step 1: Create An Angular 17 Project
First, select a folder that you want the Angular 17 project to be created then execute this command on Terminal or CMD :
ng new my-website --routing --no-standalone
Step 2: Install package
After creating a fresh angular project, go to the Angular 17 project folder and install bootstrap package:
- bootstrap – a package of bootstrap framework
To install these packages. execute this command on Terminal or CMD.
npm i bootstrap
After installing the packages. import the bootstrap in style.css.
src\styles.css
/* You can add global styles to this file, and also import other style files */
@import "~bootstrap/dist/css/bootstrap.css";
Step 3: Routing and Components
We will now create the component, refer to the image below for the file structure.

You can create your own file structure but for this tutorial just follow along.
We will now create the components. run the command below:
ng generate component pages/index
ng generate component pages/about
ng generate component pages/blog
ng generate component pages/contact
ng generate component pages/notfound
Let’s update the app-routing.module.ts file – We will add the routes here:
src/app/app-routing.module.ts
import { NgModule } from '@angular/core';
import { RouterModule, Routes } from '@angular/router';
import { IndexComponent } from './pages/index/index.component';
import { BlogComponent } from './pages/blog/blog.component';
import { AboutComponent } from './pages/about/about.component';
import { ContactComponent } from './pages/contact/contact.component';
import { NotfoundComponent } from './pages/notfound/notfound.component';

const routes: Routes = [
  { path: '', component: IndexComponent},
  { path: 'blog', component: BlogComponent},
  { path: 'about', component: AboutComponent },
  { path: 'contact', component: ContactComponent },
  { path: '**', pathMatch: 'full', component: NotfoundComponent },
];

@NgModule({
  imports: [RouterModule.forRoot(routes)],
  exports: [RouterModule]
})
export class AppRoutingModule { }
Let’s create the layout and header of the app.
ng generate component layouts/default
ng generate component components/header
we will now add codes on the newly created components:
src/app/layouts/default/default.component.html
<div class="container">
    <ng-content></ng-content>
</div>
src/app/components/header/header.component.ts
import { Component } from '@angular/core';
import { Location } from '@angular/common';

@Component({
  selector: 'app-header',
  templateUrl: './header.component.html',
  styleUrls: ['./header.component.css']
})
export class HeaderComponent {
  pageLinks:Array<any> = [
    {
      "name": "Home",
      "url" :"",
    },
    {
        "name": "Blog",
        "url" :"/blog",
    },
    {
        "name": "About",
        "url" :"/about",
    },
    {
        "name": "Contact",
        "url" :"/contact",
    },
  ]

  constructor(public location: Location) { }
}
src/app/components/header/header.component.html
<nav class="navbar navbar-expand-lg navbar-light bg-light">
    <a routerLink="/" class="navbar-brand">Binaryboxtuts</a>
    <button class="navbar-toggler" type="button" data-toggle="collapse" data-target="#navbarSupportedContent" aria-controls="navbarSupportedContent" aria-expanded="false" aria-label="Toggle navigation">
        <span class="navbar-toggler-icon"></span>
    </button>

    <div class="collapse navbar-collapse" id="navbarSupportedContent">
        <ul *ngFor="let page of pageLinks" class="navbar-nav mr-auto">
            <li class='nav-item'>
                <a routerLink={{page.url}} class="nav-link" [ngClass]="{'active': this.location.path() == page.url}">{{page.name}}</a>
            </li>
        </ul>
    </div>
</nav>
After creating the layout and header we will now work on the components for pages:
src/app/pages/index/index.component.html
<app-default>
    <app-header/>
    <div class="container">
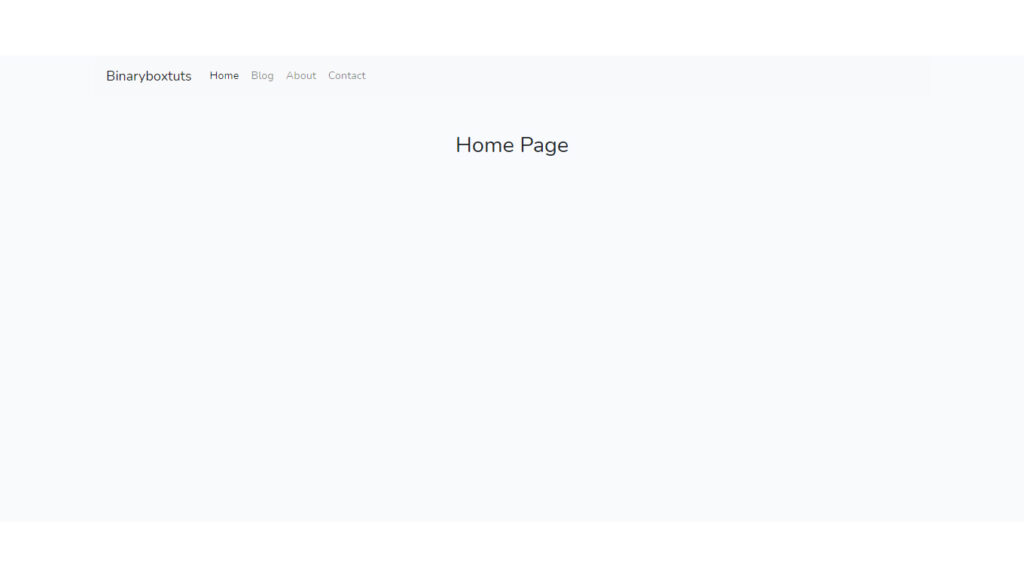
        <h2 class="text-center mt-5 mb-3">Home Page</h2>
    </div>
</app-default>
src/app/pages/blog/blog.component.html
<app-default>
    <app-header/>
    <div class="container">
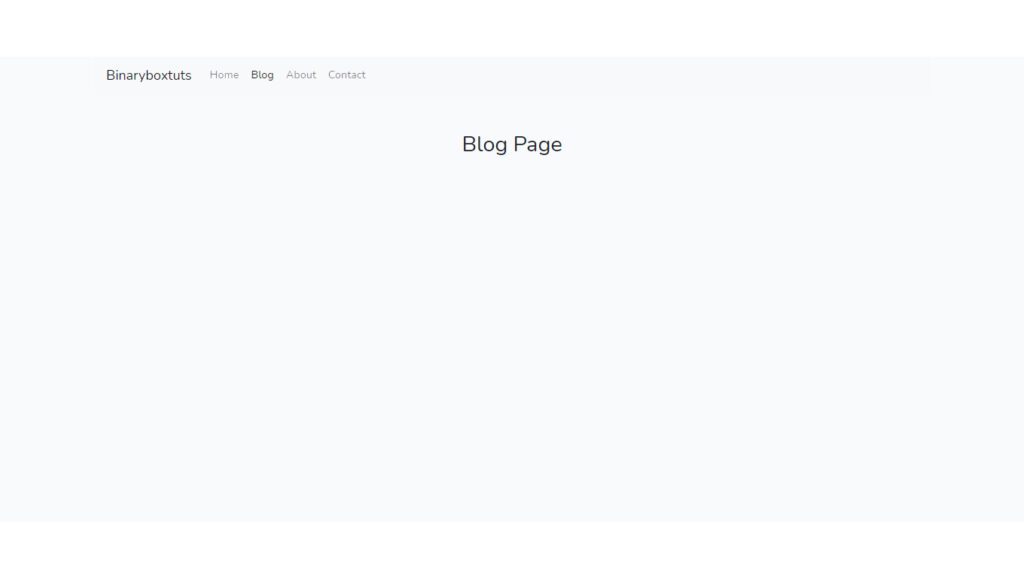
        <h2 class="text-center mt-5 mb-3">Blog Page</h2>
    </div>
</app-default>
src/app/pages/about/about.component.html
<app-default>
    <app-header/>
    <div class="container">
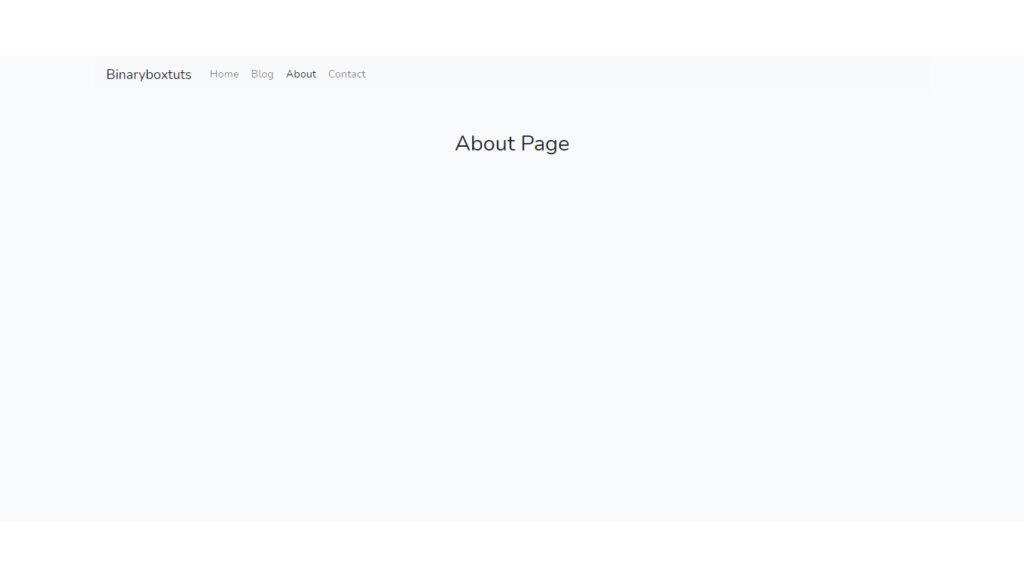
        <h2 class="text-center mt-5 mb-3">About Page</h2>
    </div>
</app-default>
src/app/pages/contact/contact.component.css
<app-default>
    <app-header/>
    <div class="container">
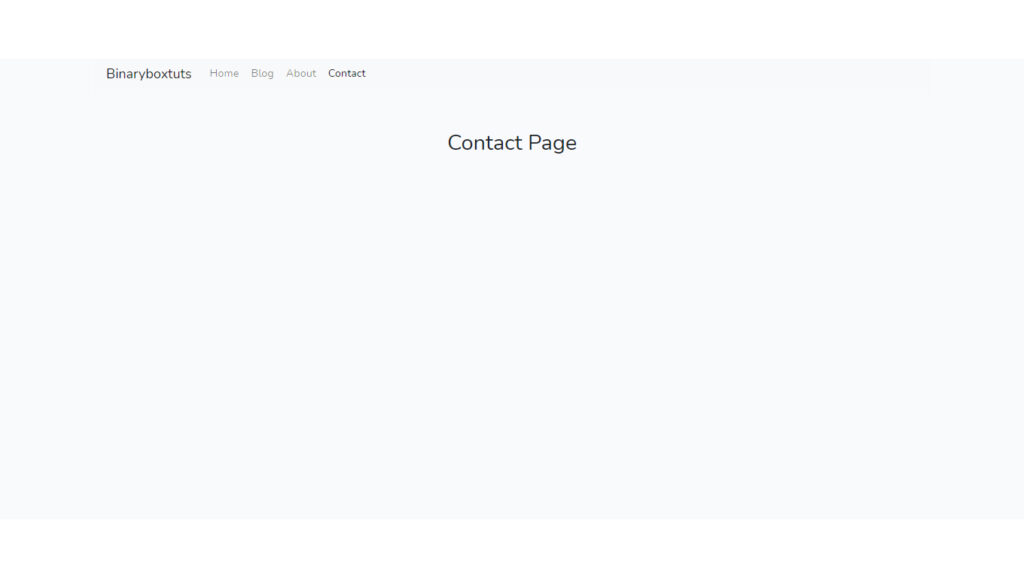
        <h2 class="text-center mt-5 mb-3">Contact Page</h2>
    </div>
</app-default>
src/app/pages/notfound/notfound.component.html
<app-default>
    <app-header/>
    <div class="container">
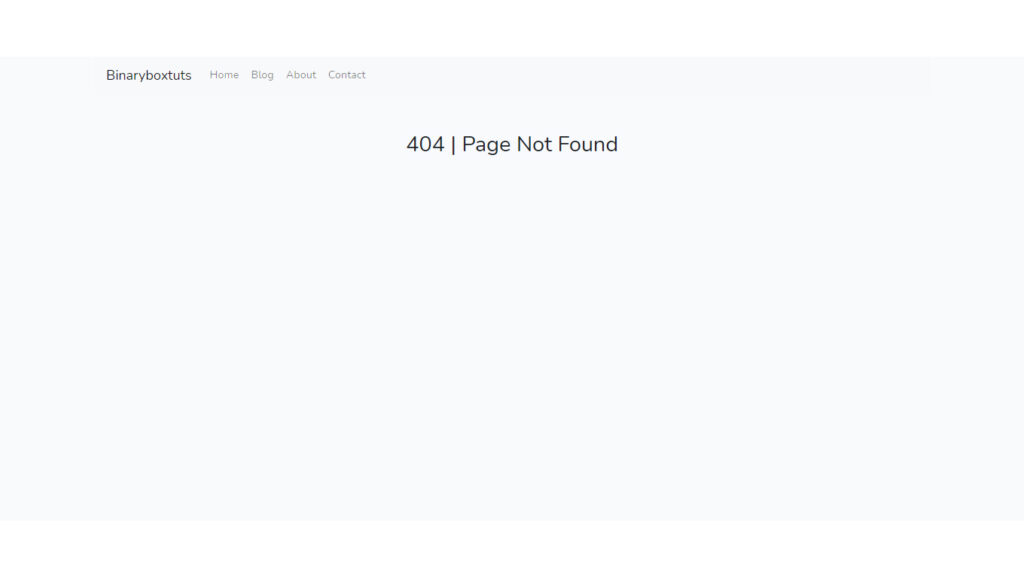
        <h2 class="text-center mt-5 mb-3">404 | Page Not Found</h2>
    </div>
</app-default>
Once everything on the above is done, we will now update app.component.html
src/app/app.component.html
<router-outlet></router-outlet>
Step 4: Run the app
We’re all done, what is left is to run the app.
ng serve
Open this URL:
http://localhost:4200/
Screenshots:
Home Page
Blog Page
About Page
Contact Page
404 Page
