Contents
Introduction:
Today, I will teach you how to install XAMPP on windows and how to set up and install CodeIgniter 3 by following my easy step-by-step tutorial. We will set up it on a Windows operating system.
CodeIgniter is a open-source web framework that is used for rapid web development. CodeIgniter follows the MVC (Model-View-Controller) architectural pattern. It is noted for its speed compared to other PHP web frameworks.
XAMPP is a free, open-source software developed by Apache Friends. It is a cross-platform web-server solution stack package. XAMPP is an acronym that means (X) Cross-platform, (A) Apache, (M) MariaDB, (P) PHP, (P) Perl
Step 1: Download And Install XAMPP
Download the xampp on the link.
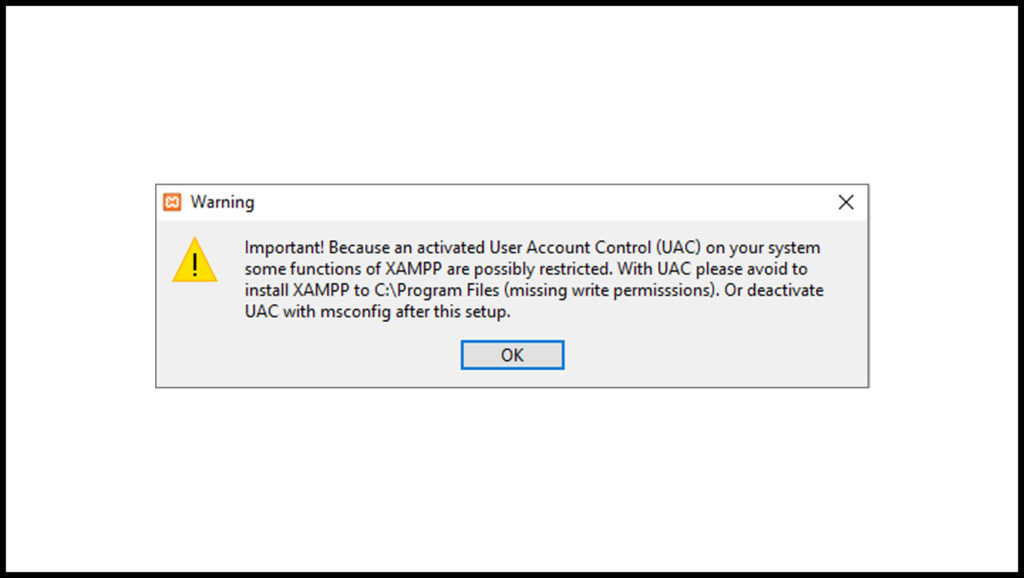
After downloading, install xampp by opening the installer. This will prompt for the first time installation. Just proceed and click OK.
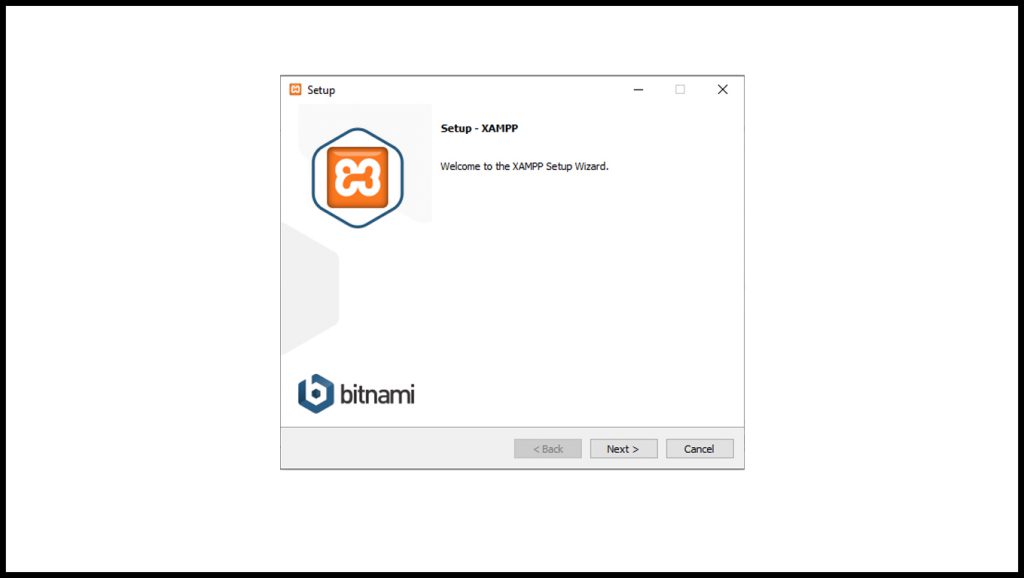
Click Next.
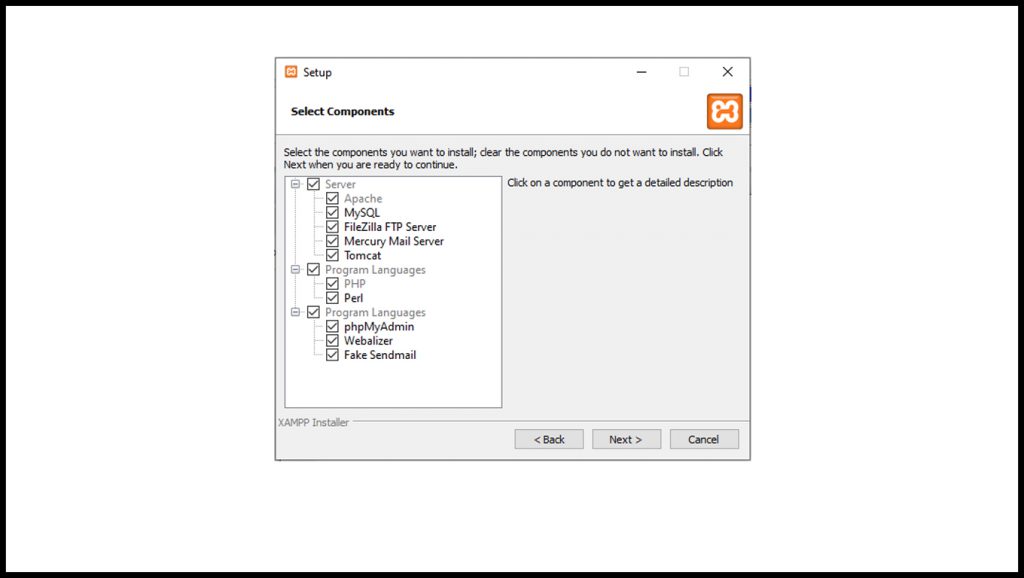
Select the Components to install. We will choose the default then click Next.
Choose the installation folder. We will choose the default and proceed by clicking Next.
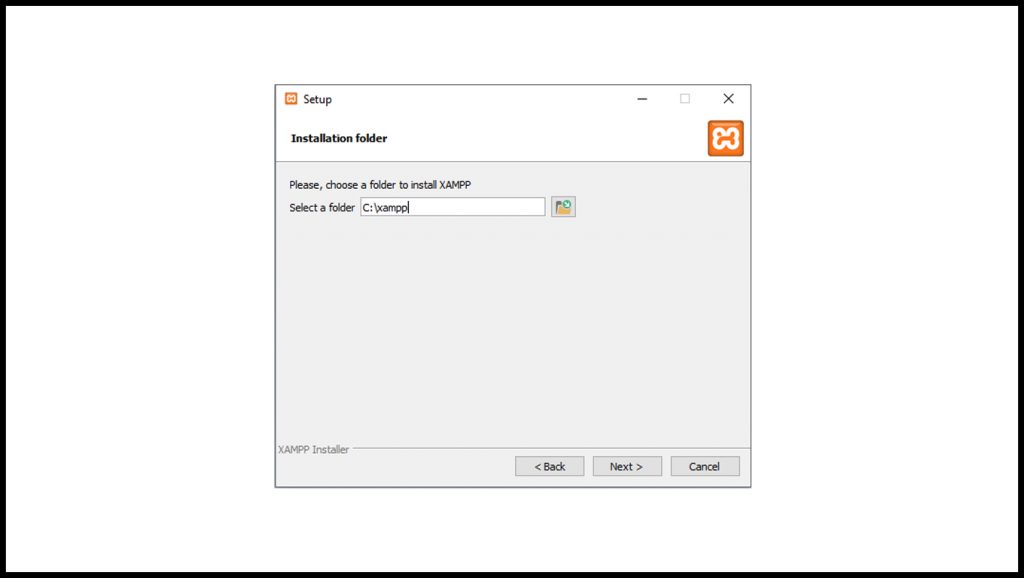
Choose the preferred language. We will choose the default (English), Then click Next.
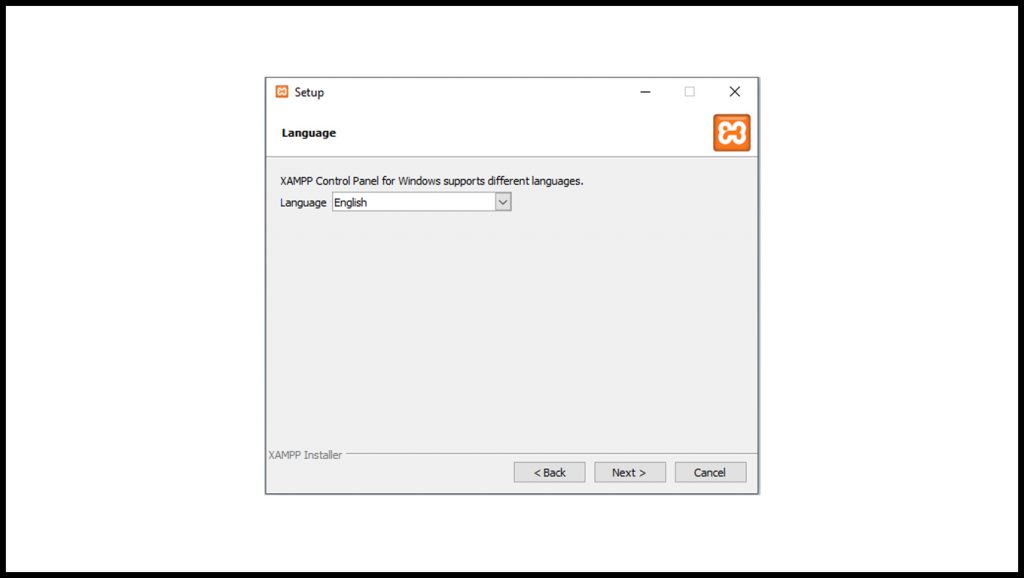
Click Next.
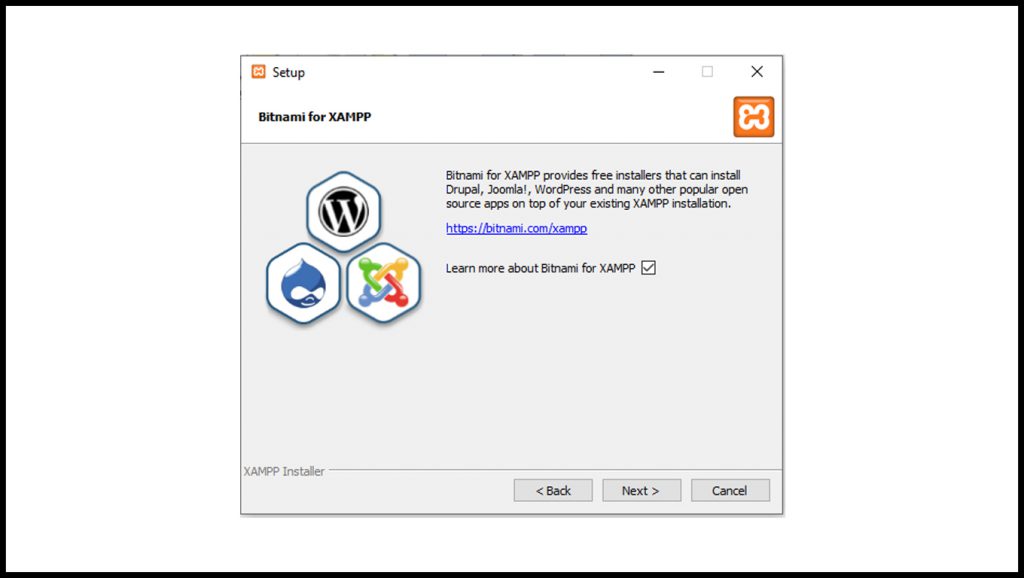
Click Next to begin installing.
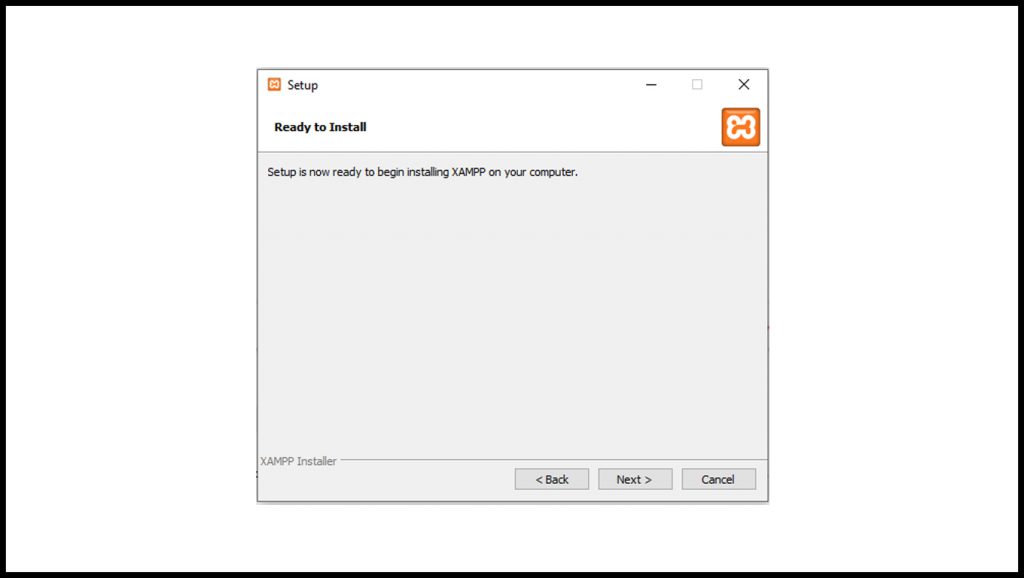
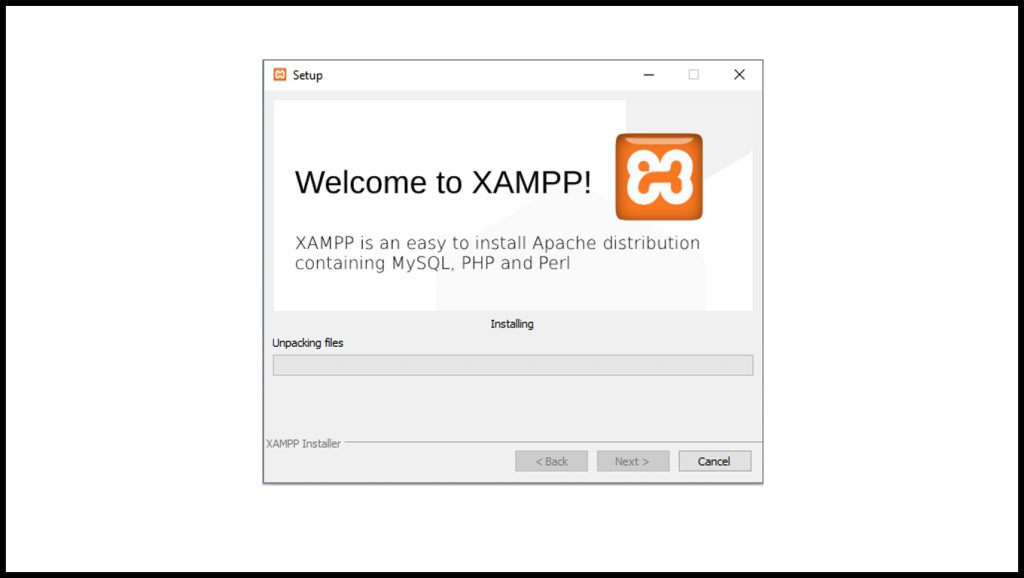
The installation begins.
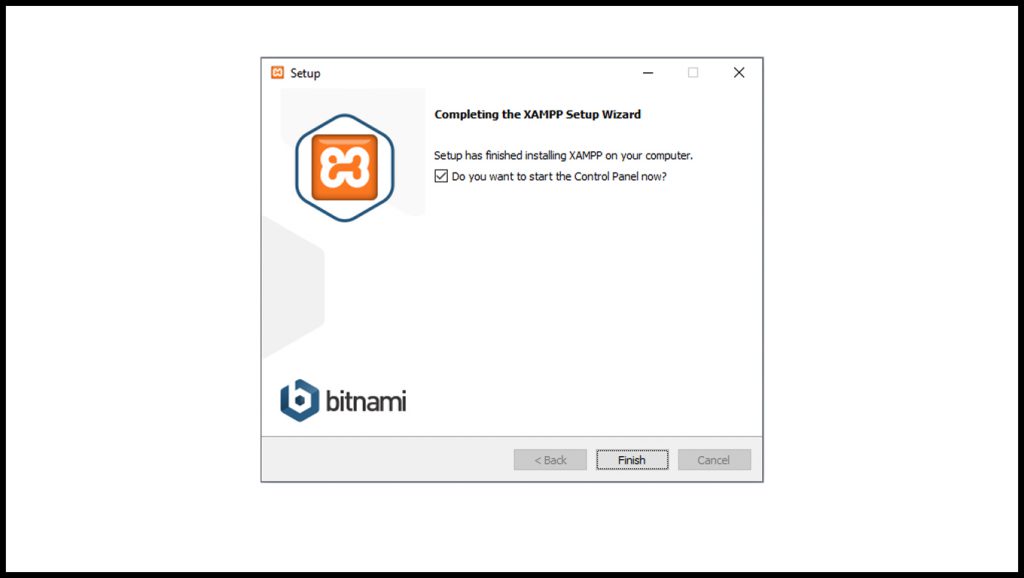
After installing, Check the “Do you want to start the Control Panel now?” checkbox and click Finish.
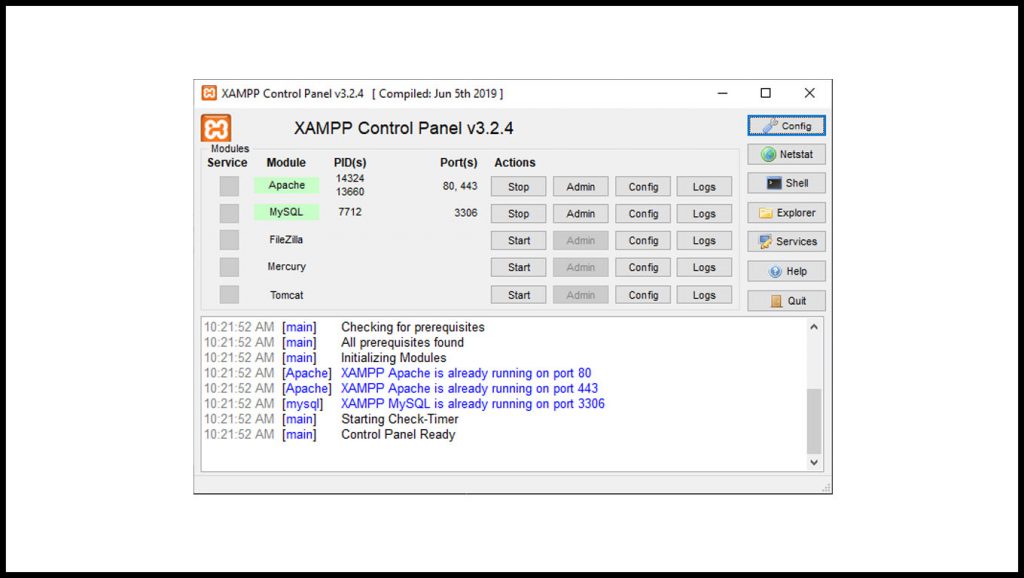
A XAMPP Control Panel will pop-up. Click Start button to start a module. Start the Apache and MySQL module.
Step 2: Download And Install CodeIgniter 3
Download the CodeIgniter 3 on this link.
After downloading, extract the file and rename the folder as “project-manager” or anything you prefer. Then move folder “project-manager” to this path “C:\xampp\htdocs”.
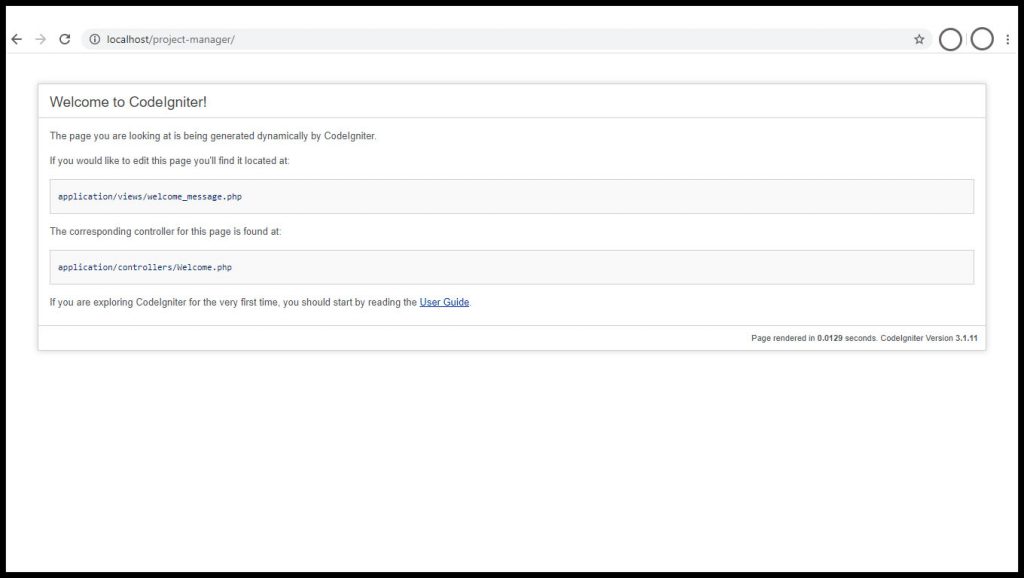
And finally, browse this URL on your browser:
http://localhost/project-manager/
Screenshot:
Install CodeIgniter screenshot:
